

You’ve picked out the tile you love, you can picture that fresh new floor in your kitchen or bathroom… and now you’re wondering, “What actually happens on installation day?” When you know the steps ahead of time, it’s a lot easier to plan around work, kids, and everyday life.
Let’s walk through what you can realistically expect when our crew installs tile in your home, from the first knock on the door to the final walkthrough.
Before Installation Day: Planning and Prep
A smooth install really starts a few steps earlier. Once you’ve chosen materials from our tile flooring catalog, we double-check measurements, layout, and any tricky spots like stair edges, floor vents, or transitions into other rooms.
Ahead of your appointment, we typically ask you to:
- Clear small furniture, décor, and anything fragile from the work area.
- Empty cabinets or closets if their floors are being tiled.
- Make a path from the entry to the job area so we can move tools in and out without bumping into anything.
If there’s existing flooring, we’ll talk through whether it needs to come out, how we’ll handle disposal, and what to expect with dust and noise. Good prep keeps surprises to a minimum and helps your project stay on schedule.
Day 1: Tear-Out, Subfloor Work, and Layout
On installation day, we start with a quick walkthrough so you can point out any last questions or concerns. Then the real work begins.
Old flooring comes up first. Depending on what’s there—sheet vinyl, laminate, or older tile—we remove it and inspect the subfloor underneath. In our climate, it’s common to find minor issues from moisture or movement, especially in basements and near exterior doors. We’ll repair weak spots, level low areas, and make sure the surface is solid so your new tile doesn’t crack later.
Next comes the layout. We’ll dry-lay a few rows to find the best starting point and to avoid tiny slivers of tile along walls or in doorways. This is where we balance looks and practicality, especially around tubs, kitchen islands, and transitions into other rooms. Taking time on layout is what makes a finished floor feel intentional instead of “just stuck down.”
Setting Tile: Thinset, Spacers, and Patience
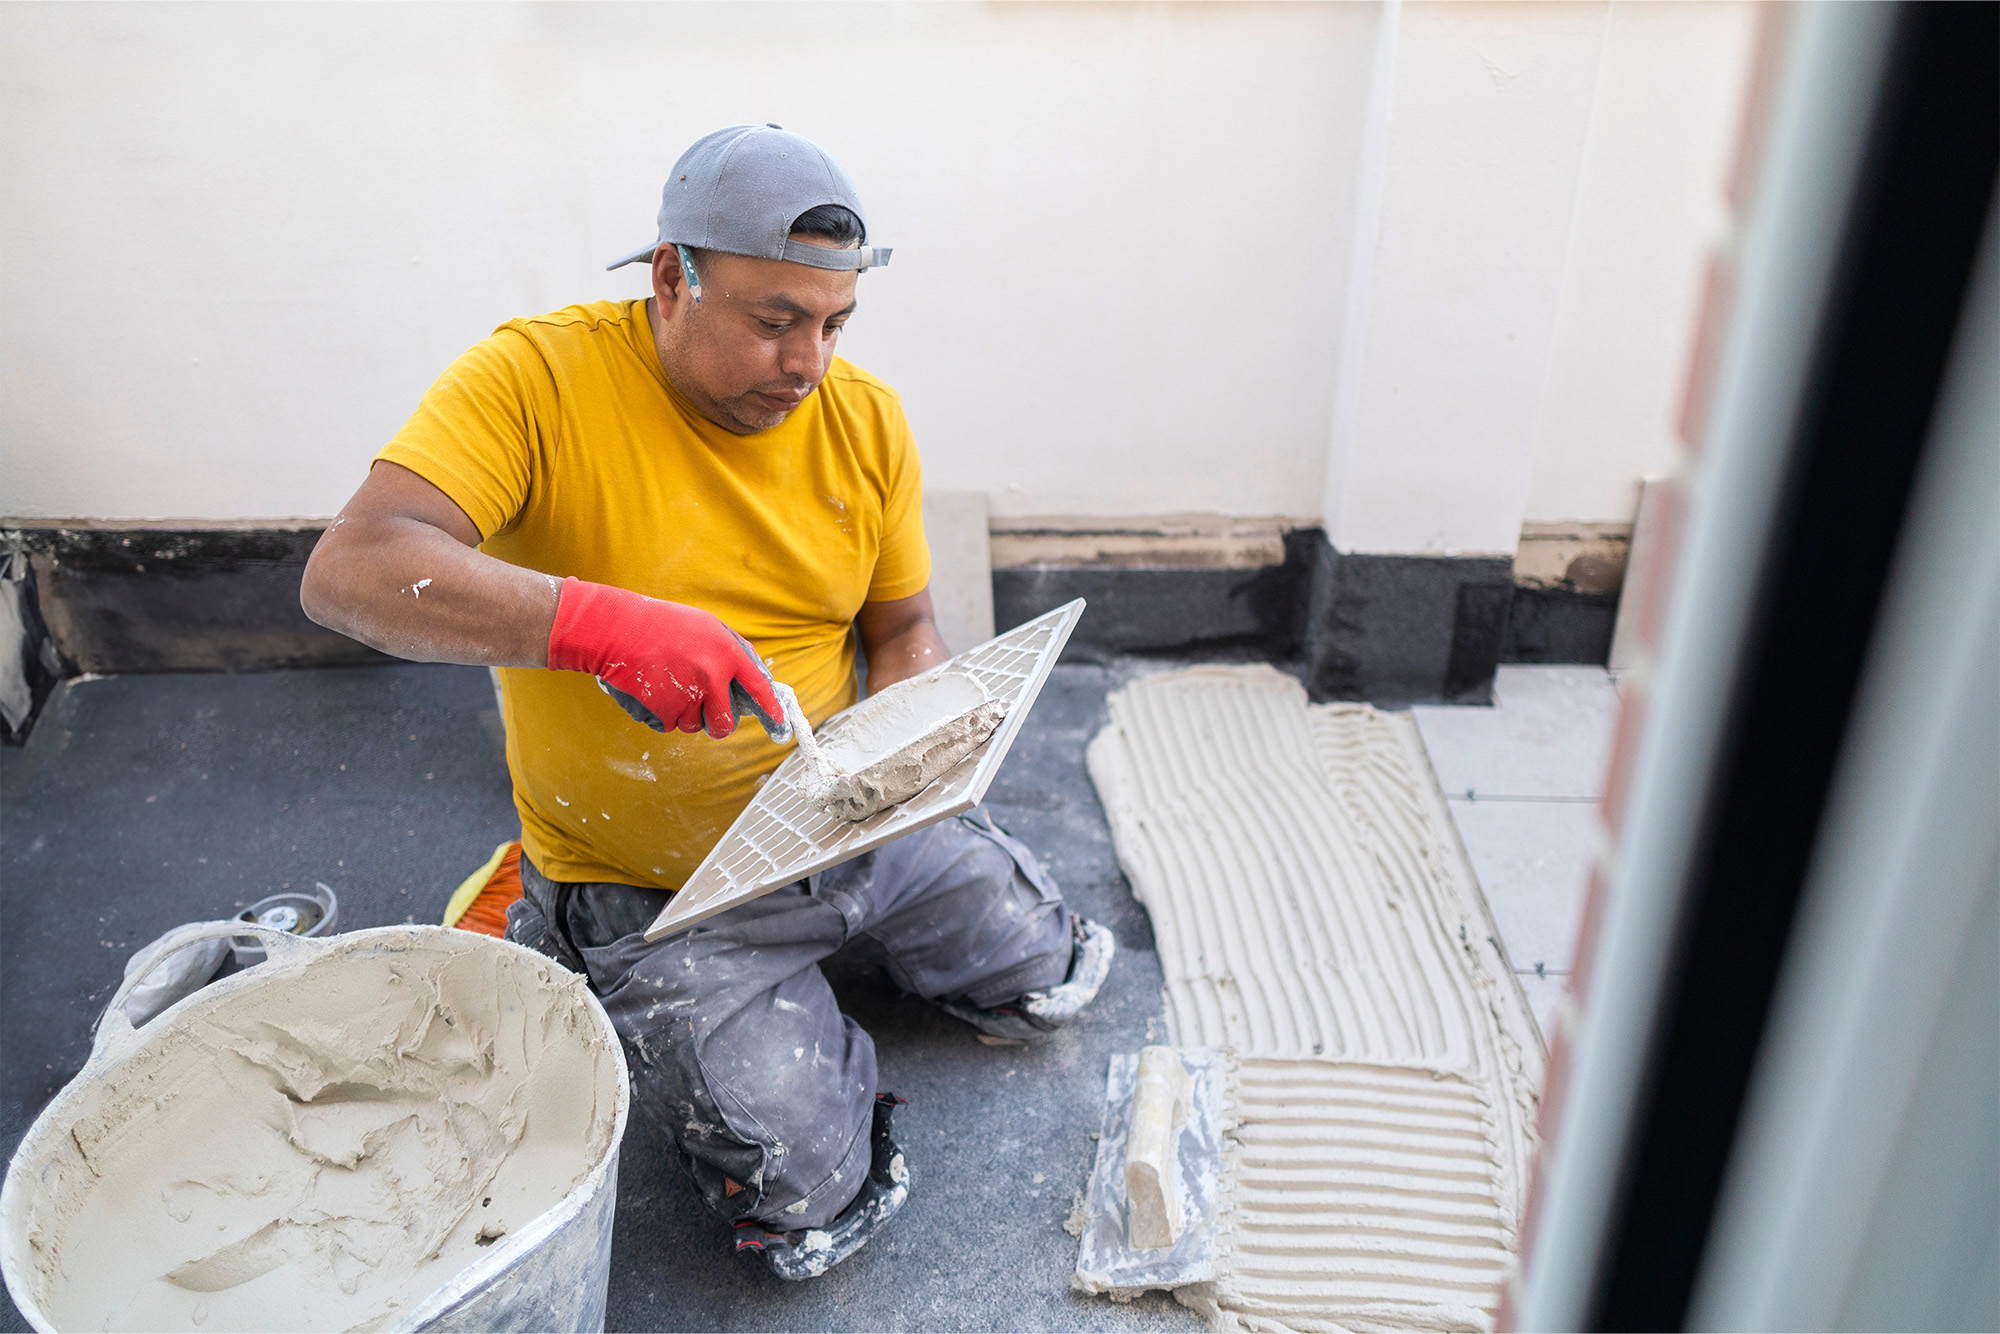
Once the layout is locked in, we spread thinset mortar in small sections and start setting tile. You’ll see us checking for level and using spacers to keep grout lines straight and consistent. In high-traffic areas like entries and kitchens, we pay extra attention to lippage (those little height differences between tiles) so the floor feels smooth underfoot.
Depending on the size of the room and the pattern you’ve chosen, setting can take anywhere from part of a day to a couple of days. Large-format tiles, diagonal layouts, and intricate mosaics are a bit more time-intensive, but they’re also where the finished look really shines. If you’re still debating patterns or shapes, our flooring inspiration galleries are a helpful way to see what different layouts look like in real rooms.
After the tile is down, it needs time to cure. We’ll let you know which areas to avoid and for how long, but generally you’ll want to stay off it until the mortar has set.
Grout, Clean-Up, and Final Walkthrough
Once the tile has bonded, we come back to grout. This step fills in the joints, locks everything together, and dramatically changes how the floor looks. You’ll choose grout color ahead of time, and we’ll recommend options that work with your tile and lifestyle—slightly darker shades often hide Michigan road salt and everyday messes better.
After grouting, we wipe the tiles clean, let the joints firm up, and then do a more detailed haze removal. From there, we reinstall baseboards or trim as needed, tidy up the workspace, and haul away debris. By the time we’re done, your home should look like we were never there—except for the new floor.
To finish, we walk the space with you, check for any touch-ups, and go over basic care. If you ever decide to freshen up other surfaces later, you can see how tile ties in with the rest of your home in our broader flooring services overview.
How Long It Really Takes—and What You Can Do Next
Most tile projects run anywhere from one to several days, depending on room size, prep work, and pattern complexity. Knowing the sequence—prep, tear-out, subfloor repairs, layout, setting, curing, grout, and clean-up—helps you plan around pets, kids, and daily routines without feeling overwhelmed.
If you’re ready to put a timeline to your own project, you can share your room size, tile ideas, and schedule preferences through our free estimate request, and we’ll walk you through what your installation would look like step by step.