

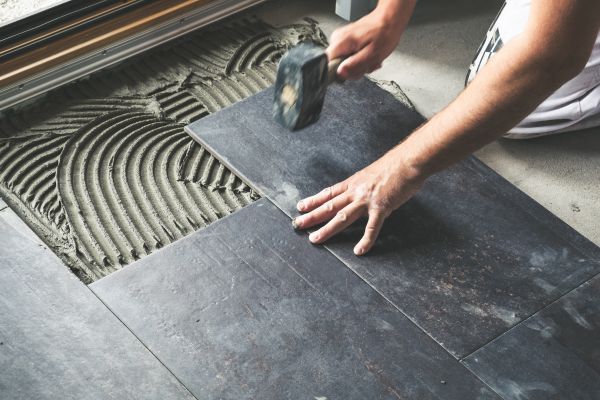
If you’ve got dated tile in the kitchen, cracked stone in the foyer, and a budget that says “not all at once,” you’re not alone. Many homeowners want a fresh, cohesive look underfoot but need to spread the work (and cost) over a few months or even a few years. The good news: with a little planning, you can phase new tile and stone in gradually without your home looking like a patchwork project the whole time.
Below is a simple way to think through a phased flooring plan that still feels intentional and pulled together.
Step 1: Map the “zones” and traffic patterns
Start by sketching your main floor and basement, then group spaces that flow into each other. For example, you might have:
- Entry + hallway
- Kitchen + breakfast nook
- Powder room + mudroom
- Basement family room + bar area
Look at where tile or stone already exists and how you move through these areas. High-traffic spots near exterior doors deal with slush, salt, and summer humidity, so they usually deserve priority. Spaces that are tucked away or covered by rugs can often wait until a later phase.
As you map things out, it helps to see what’s possible. You can compare porcelain, ceramic, and mosaic looks in our tile flooring selection and start imagining which styles might live in each zone.
Step 2: Choose a unified look before you touch a single tile
Phasing only works if you know the end goal. Before any demo, decide on:
- Overall color palette (warm tans, cool grays, creamy neutrals)
- Visual style (stone-look, concrete-look, wood-look, patterned, or a mix)
- Material mix (all tile, tile plus stone accents, or stone in a few “wow” areas)
Even if you’re installing over several stages, choosing materials that play nicely together keeps your home from feeling mismatched in the middle of the process. For example, you might plan durable porcelain in the kitchen and hallways, then a coordinating marble or travertine mosaic in the primary bath for a little luxury.
If you love the idea of real marble, slate, or travertine in key spaces, it’s worth browsing our natural stone flooring options to see which tones and finishes work with the tile you have in mind.
Step 3: Set smart phases that won’t create awkward transitions
Once you know your “future state,” you can break the work into logical chunks. A practical sequence might be:
- Entry, mudroom, and main hall (handles the worst dirt and salt)
- Kitchen and adjacent dining or nook
- Main-floor bathrooms and laundry
- Basement bar, bath, or entertainment areas
Between phases, you’ll often have old flooring meeting new. To keep that from looking temporary and sloppy, plan for clean transition pieces like reducers or thresholds that can stay even after the next phase is done. That way, every step still feels finished.
If you’re mixing tile with stone, we usually recommend picking one dominant floor for most of the square footage, then using the other for borders, shower walls, or small rooms. The galleries in our flooring inspiration section are great for seeing how designers balance these materials without overwhelming a space.
Step 4: Budget, scheduling, and living through each stage
Phasing isn’t just about money; it’s also about timing. Think about:
- When you can realistically have a kitchen or bath partially out of commission
- Whether you want to group noisy work (demo, cutting) into fewer visits
- How your installer can reuse protection and dust-control setups from one zone to the next
Many homeowners like to pair a tile or stone phase with other work, like painting or refinishing nearby hardwood. When we’re planning projects that mix surfaces, we’ll often look at the calendar with you and talk through how our flooring services can be sequenced so your home stays as livable as possible during each step.
Step 5: Protect your investment between phases
While you’re living with a mix of new and old floors, protect the fresh surfaces so they still look brand new when the whole plan is complete. Use felt pads on furniture, lay down walk-off mats by exterior doors, and consider temporary runners through active hallways. This is especially important in homes with kids, pets, and plenty of winter boots.
By the time you finish your last phase, the goal is simple: everything feels like it was installed at once, even if you spread it out to fit real life.
When you’re ready to talk through a phased plan for tile and stone, you can start by sharing your rooms, timing, and budget through our free estimate form.